How To Make A Perfect Beginner’s Sourdough Loaf

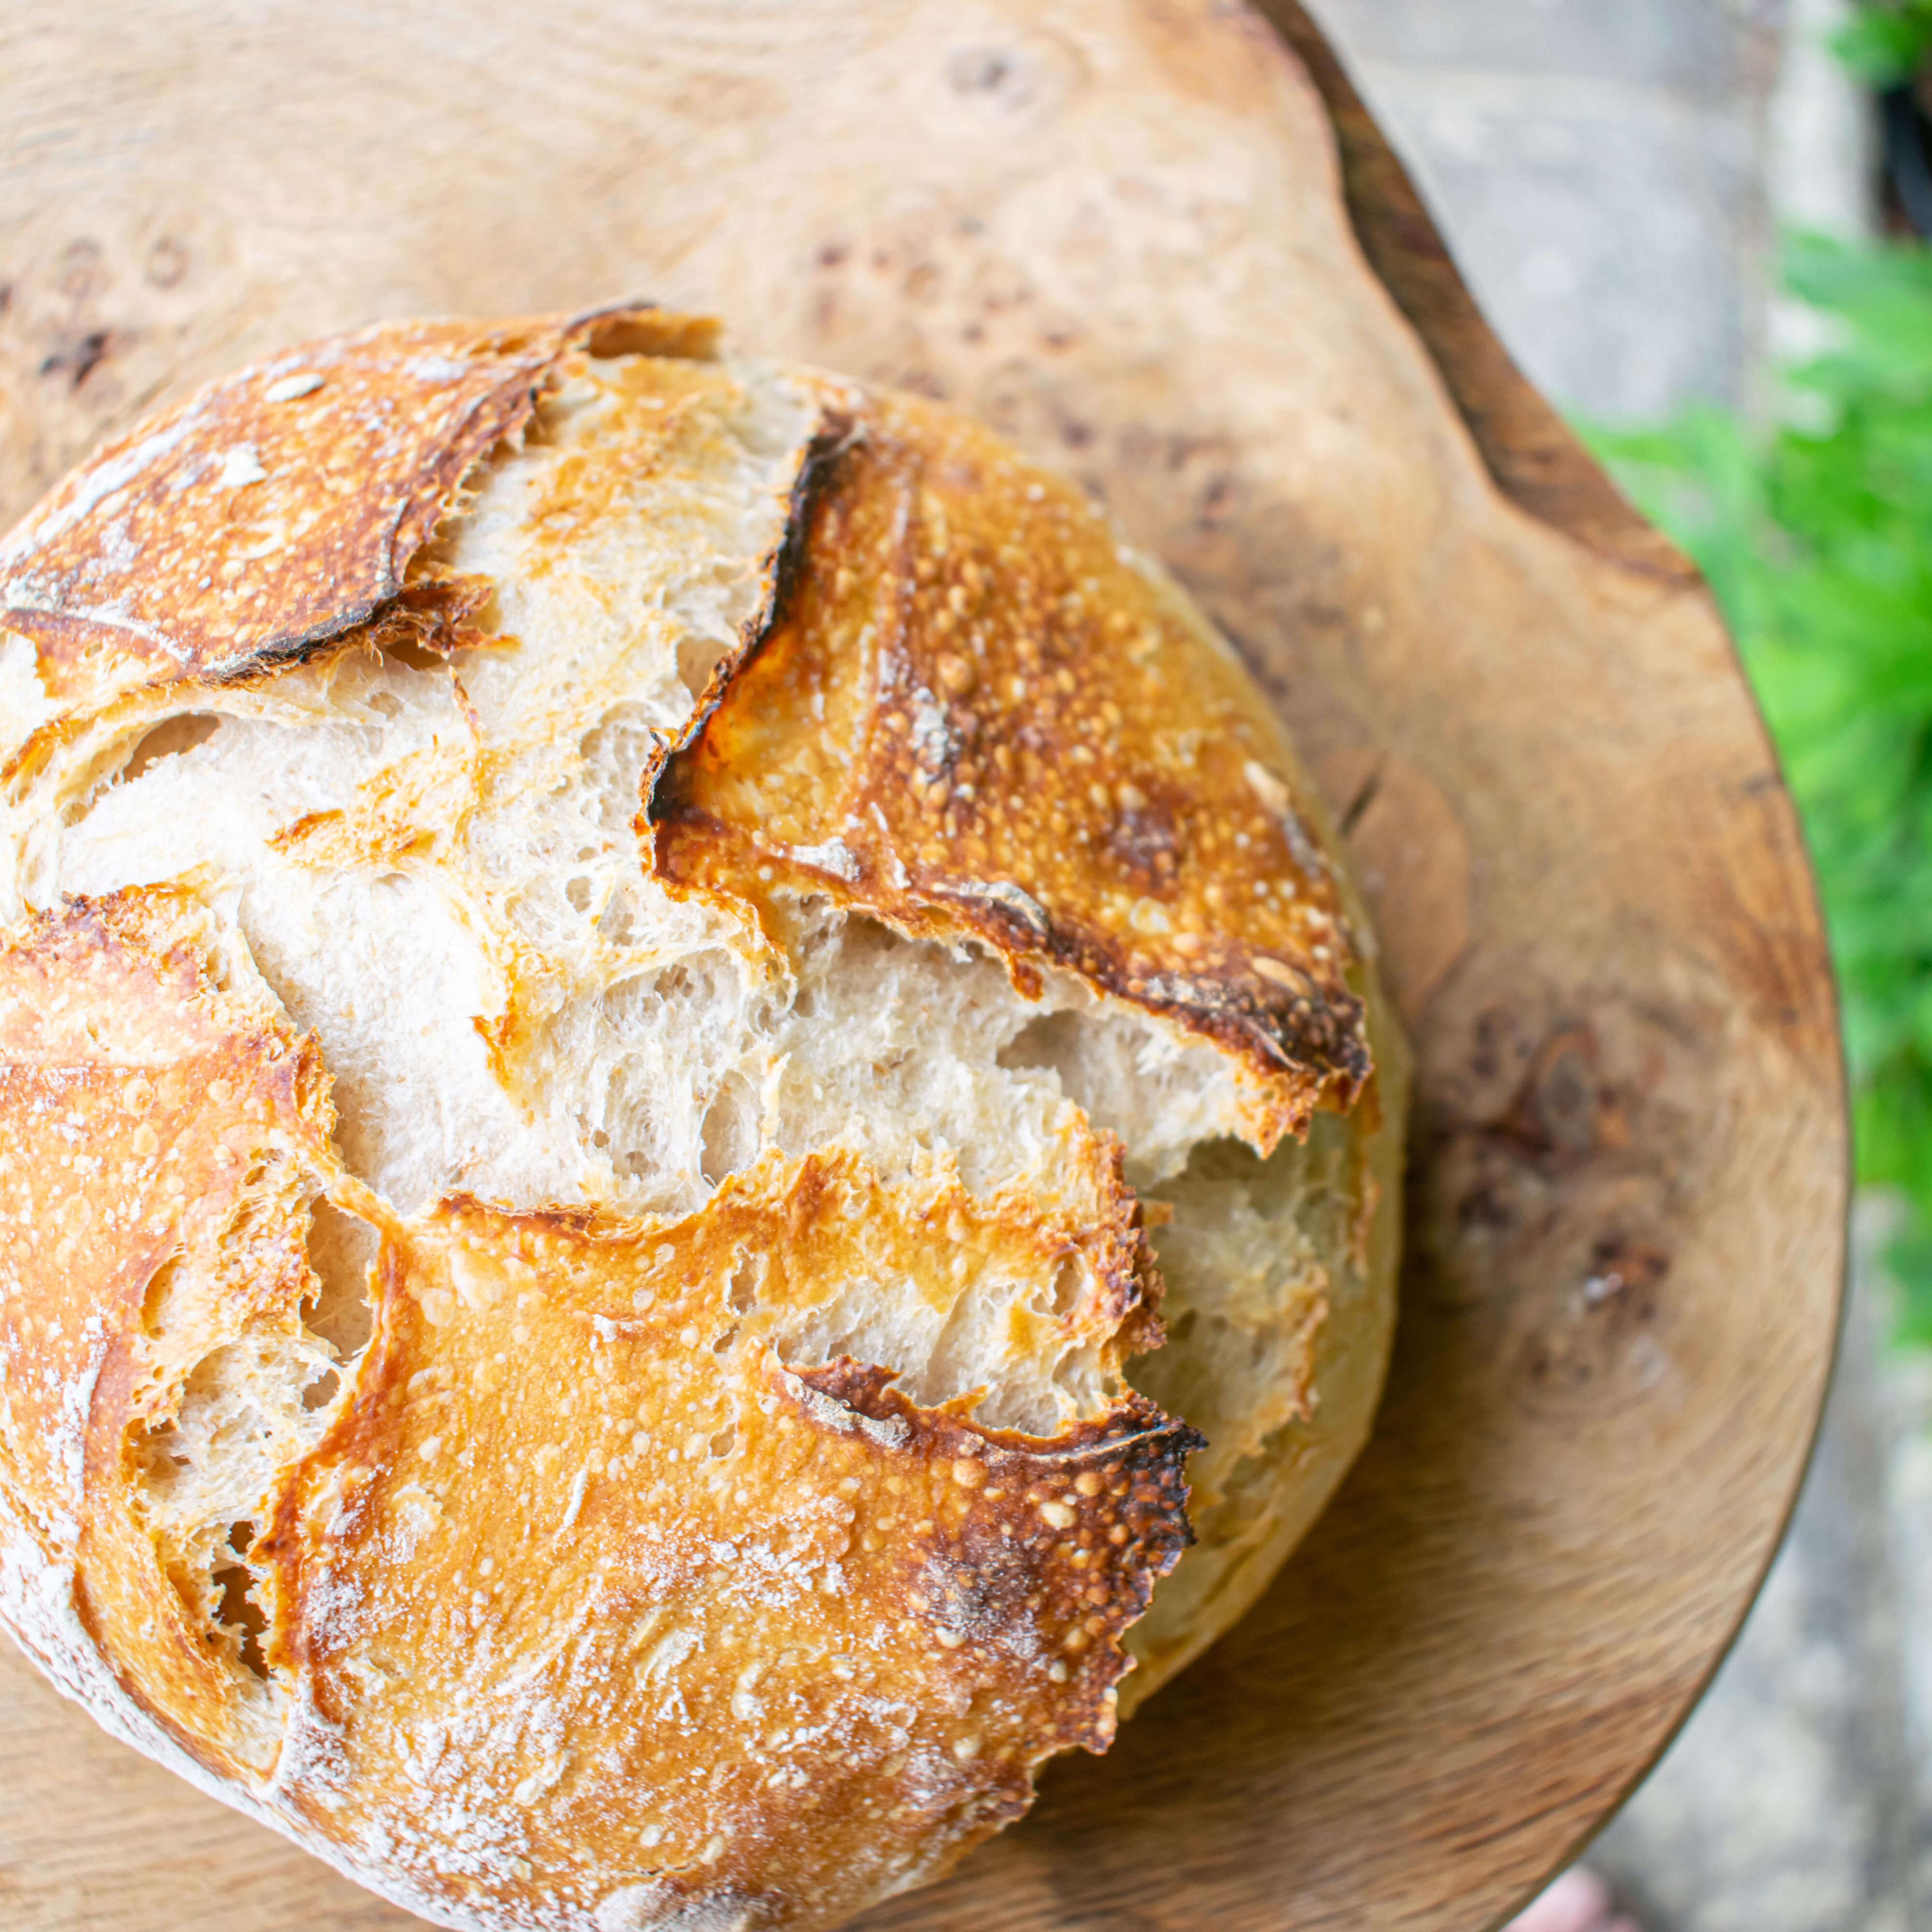
This big, round, beautiful loaf of sourdough is great for beginners.
DSC 0985 1
The ultimate sourdough loaf with a perfect golden crust. Give it a go.

If you’ve baked MOB’s sourdough tin loaf, you’re now ready to try a round loaf. This is the most popular kind of sourdough bread, similar to the ones that you often see in bakeries. There are hundreds upon hundreds of different methods for cooking these loaves. No two people will follow exactly the same recipe. Everything from the amount of water in your dough, to the way you knead it, to the amount of time you leave the dough to rise. No two loaves you bake yourself will be the same, either. There are so many different things that affect the way it turns out — room temperature, the type of water that comes out of your tap, and the brand of flour you use all make a difference.

This recipe is designed for beginners. It doesn’t require specialist equipment like dough scrapers or proving baskets. And it is “low hydration,” which just means that it contains less water and more flour than in other recipes. A low hydration dough yields a tighter crumb, which is another way of saying the holes in your bread will be small-ish. It’s great for sandwiches or for serving with soup. Eventually, when you get the hang of working with this dough, you might want to consider making a higher hydration loaf, which makes your bread airier with bigger holes. But a lowish hydration is good when you’re starting out because the dough is stiffer and easier to work with. It makes excellent everyday bread, with a beautiful tangy flavour, a crunchy crust, and a soft crumb.

The full recipe is linked at the bottom of the page. But we’ve talked through the process in a little detail below so you understand the purpose of each step, which should help when you’re making your loaf.
Let's Go Step By Step

The full recipe is linked at the bottom of the page. But we’ve talked through the process in a little more detail below so you understand the purpose of each step, which should help when you’re making your loaf.

DSC 1012 2
The textbook sourdough cross-section complete with those brilliant holes.

Stage 1: Feeding Your Starter

The night before you want to make your bread, feed your starter as you usually would. If it usually lives in the fridge, leave it on the counter overnight. It should be very active and bubbly the next morning.

Use the “float test”. Your starter is ready for baking if you drop a small portion of it into a bowl of lukewarm water and it floats. If not, leave it for a little longer. This mixture is what makes the loaf rise.

Stage 2: The Autolyse

Next comes a stage called autolysing. All this means is that you combine your flour and water, mix it gently, and leave it to rest for an hour. The other ingredients will be added afterwards. Doing this makes the dough stretchier, kneading easier, and the holes in your bread more even.

Stage 3: The Knead

Once your bread has finished autolysing, you need to turn it into dough by mixing the remaining ingredients together and knead it for a few minutes until it’s round and smooth. The kneading process warms and stretches the gluten in your dough, giving it the springy elastic quality you’re after. More advanced recipes will have you “stretching and folding” lots of times during the first part of the baking process, but this recipe is a little simpler.

Stage 4: The First Rise

After a quick knead, your dough is ready to start rising. This stage is known technically as the "bulk rise" because it's when most of the hard work on the dough's part happens. The dough needs to double in size during this process. This usually takes anywhere between 8 and 12 hours. In summer months, it can take as little as 4.

Stage 5: The Shape

Ezgif com optimize 3
Pick up the dough from the bottom and fold it towards the centre. Then fold it from the left and right side, and finally roll the dough up from the bottom over and onto itself.

Shaping is the next step in the process which is important for gluten development in the bread, the thing that gives your loaf strength and structure. There is a bit of a knack to shaping your dough, but it’s one you can pick up relatively easily with this dough because it is low hydration which means it’s relatively stiff and easy to work with.

Here's the basic idea: pick up the dough from the bottom and fold it towards the centre. Then fold it from the left and right side, and finally roll the dough up from the bottom over and onto itself.

Next you'll wet your hands, then put the dough onto a lightly floured surface and push it gently around in a circular motion until the dough is shaped into a round ball.

Ezgif com optimize 2
Gently push your dough around in a circular motion until you have a round ball.

Stage 6: The Second Rise

Once you’ve shaped your loaf it’s time to let it rise again in its final form. This process is very important and you can’t rush it. It’s tricky to say exactly how long the second rise will last because it varies depending on things like temperature and even different brands of flour, but it should take somewhere between 30 minutes and 60 minutes.

Top tip: Your dough is ready for baking when it passes the finger poke test. Wet your finger and poke the dough enthusiastically. If the dough bounces back straight away, let it rise for a little while longer. If the dough springs back slowly but surely, it’s finished rising and it’s ready to bake.

DSC 0957 1
Use a razor blade to slash the dough before you bake to end up with these signature sourdough markings.

Stage 7: The Bake

For best results, you should bake your bread in a casserole pot, also known as a Dutch oven. If you don’t have one, any ovenproof pot with a lid will do. Each oven is different, so if your loaf looks a little too dark or a little less crispy than you’d like, change the temperature a little next time.

Tom's Top Tips

  • Sourdough is a very inexact science, so you need to be guided as much by sight and feel as by a recipe. If you wake up in the morning and your dough hasn’t risen enough, leave it for another couple of hours. And if you feel like your kitchen is too cold, move your dough to rise in a warmer part of the house.
  • Make sure your starter is bubbly by taking it out of the fridge the night before you plan to make your dough then feeding it. This is absolutely vital.
  • Speed up the fermentation process by making sure the water you add to your dough is slightly warm.
  • Use a razor blade to slash your bread before it goes into the oven, or at least make sure your knife is very sharp — most of them aren’t up to the job.
View Recipe